In the third part of this tutorial, I will show how to use servomotors and new commands. This post has been updated.
Click in the button below to see how servomotors work.
Implementation
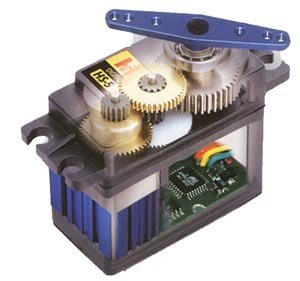
In this tutorial we will use this type of servomotor:

Connect the servo with the Arduino in this form:

Important: The servo’s red wire is the positive pole, link in the 5V, the black wire is the ground which must link in the GND and the white wire is the signal which must be linked with the Arduino’s digital output. Some servos vary in the wire’s color, yellow instead of white in the CS-60 Hobbico servos, brown instead of black in many microservos.
Let’s implement the program.

You can use // or /* */ to put commentaries. Implementing the program the servo must be turning in an angle repetitively.
New commands
#include <Servo.h>
It is a library created to help designers to use servomotors in the Arduino and allow to use other types of command, #include command enable libraries.
Servo servo;
int posservo;
Servo is the declaration of servomotor and int posservo is the variable of servo’s position.
servo.attach(8);
Set the pin of servo’s signal in the digital pin 8.
servo.write(posservo);
Move the servo to the angle with the posservo value.
Update: Inside for, must have delay(15); to avoid servomotor to “shake”.
Robotic arm
You can control many servos with these commands and create your own robotic arm which moves alone, like this one.


 ServomotorClick here
