This is the second edition of the post about H bridge shields. It has additional information about the use of PWM on H bridge shield L298N.
In this fifth Arduino tutorial will be taught how to use two types of H bridge shields. Shields are complete circuits that can be linked to Arduino saving time, however are more expensive.
To know how H bridges work, clique in this button.
H bridge shield L298N
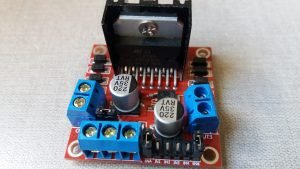
First, let’s make work this H bridge L298N, this is the connection.

The IN pins must be connected to the digital pins, here were linked to 2, 3, 4, and 5 pins. The supply pin indication in the shield can be viewed from the other side of the board.
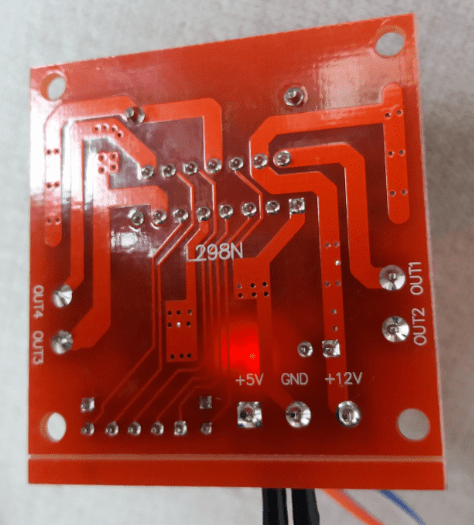
DC motors are linked in the shield.

Let’s write the program to test the shield. The motors must change rotation direction to every 2 seconds.

Using PWM on L298N
To control motors linked to H bridge L298N with PWM, ENA and ENB pins must be connected to Arduino.

ENA and ENB pins can be connected to Arduino digital pins and must be declared in the beggining of the program.
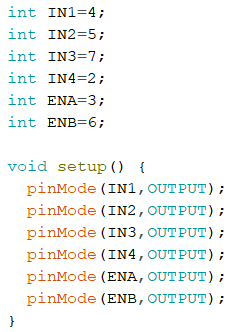
In “void loop” function, variable ENA and ENB must be written as shown below.

Adafruit H bridge shield
This shield uses the integrated circuit L293D to control motors.
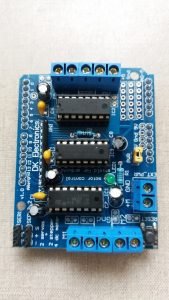
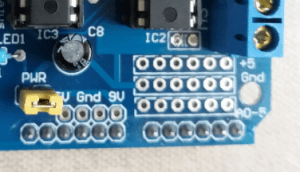
If you want to add sensors, you have to weld sockets in these holes. But in this tutorial, we will use only motors.
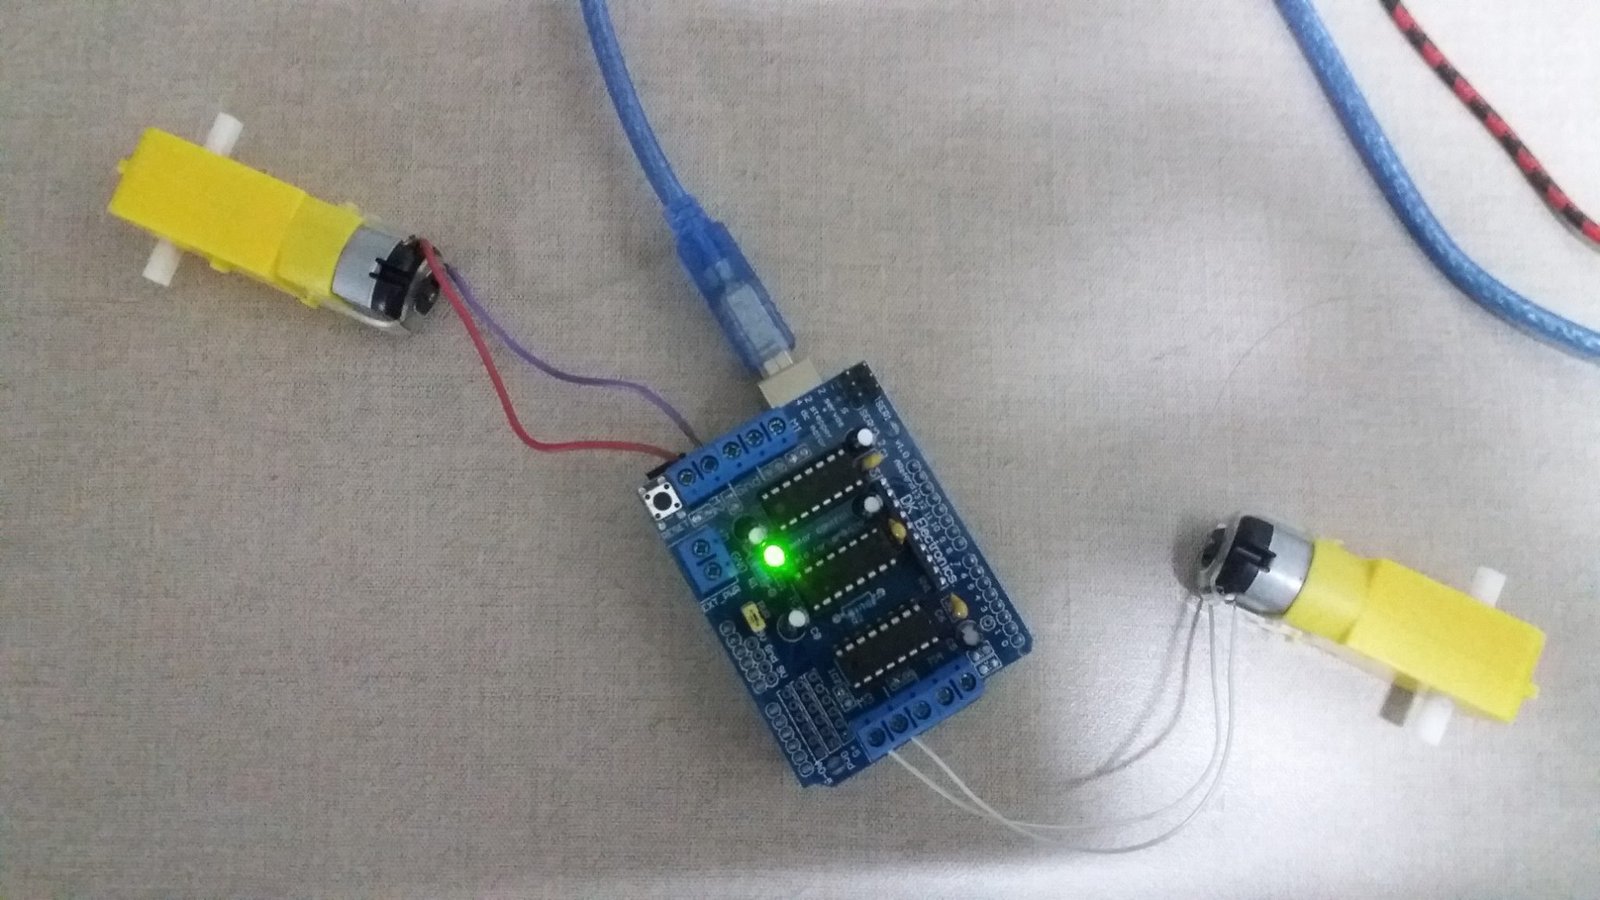
This shield can control 4 DC motors or 2 step motors and 2 servos. First, let’s see how to control DC motors, here shows where must be put the motor’s terminals.

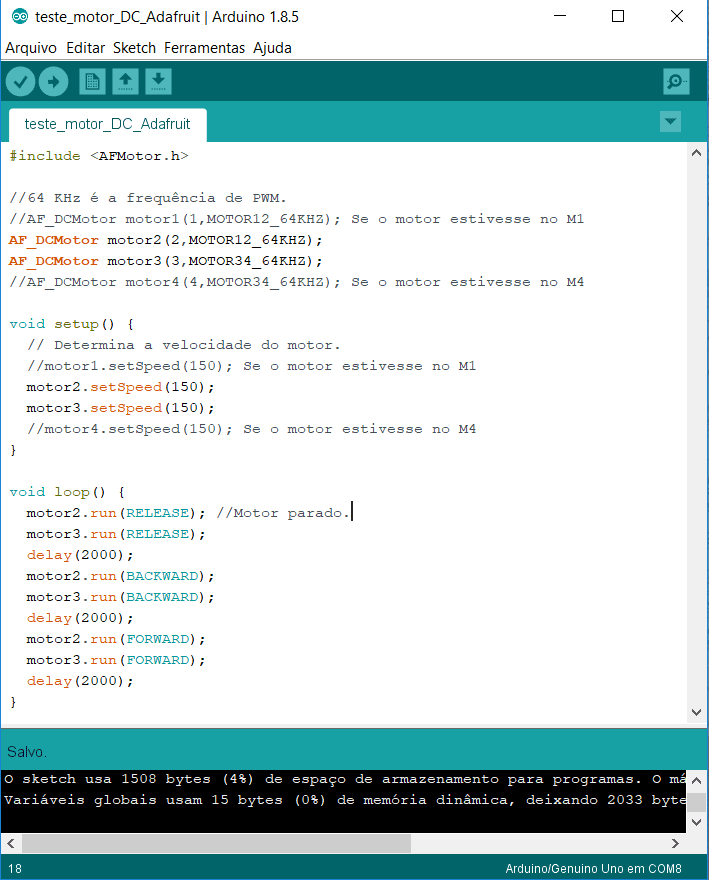
To use this shield, you must download and install library version 1, which can be in this link. Implementing the program.
Now let’s use this shield to control a servomotor. Here shows where to connect the servo.
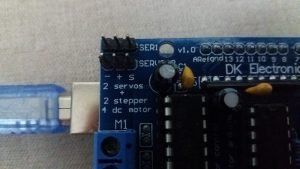

You can control servos in the same way shown in tutorial 3.
 Part 3Click here
The servo_2 pins are linked to the digital pin 9, therefore, must write the command servo.attach(9); in void setup. In the pins SERV1 must write servo.attach(10); in void setup.
Using the step motor
Now let’s use a step motor.
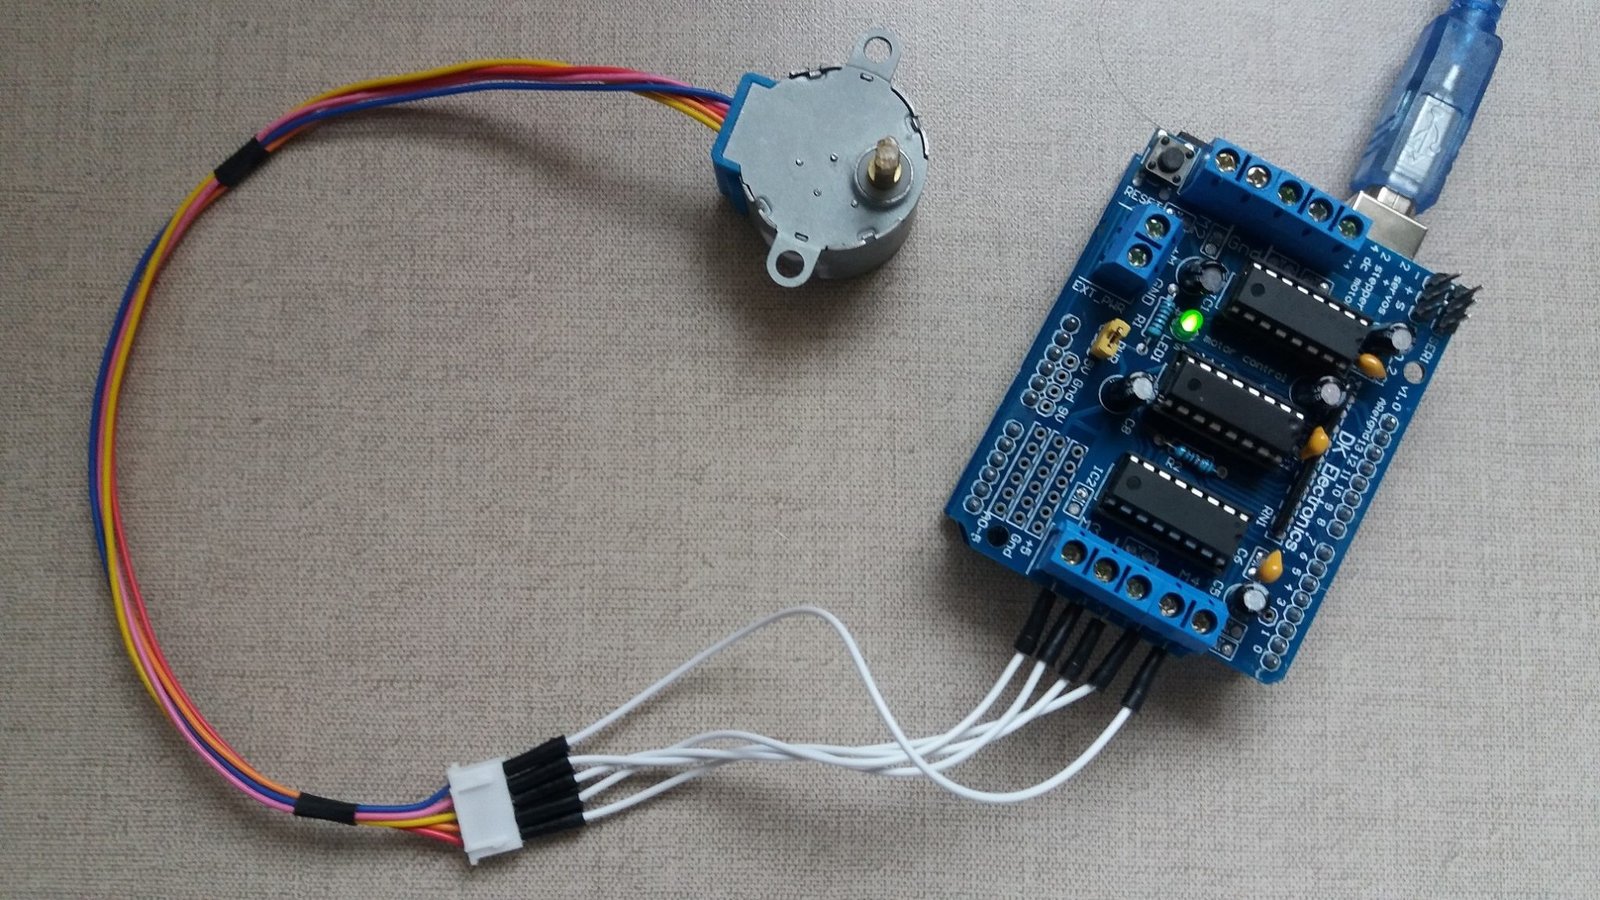
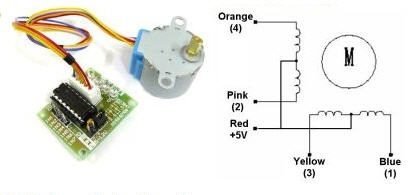
When to put the step motor, pay attention to the winding coil. Each model of step motor has different colors for different coils. Here is the relation between the coils and the colors to step motor 28BYJ-48.
How to put this type of motor in the shield.

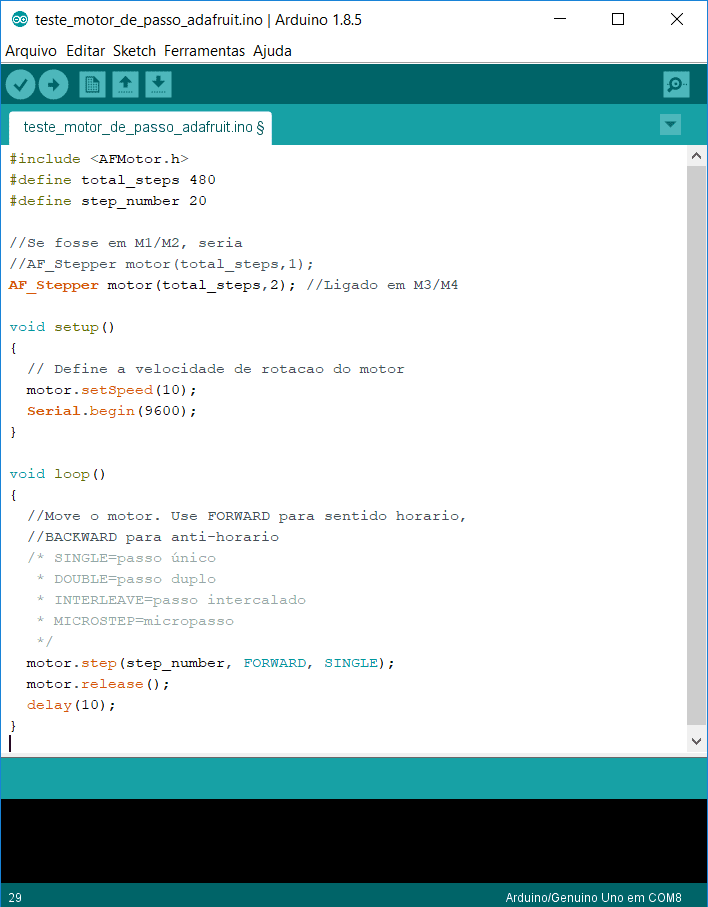
It is necessary to get a multimeter and measure the resistance between the wires to know the winding. For example, in this motor, the resistance between the pink wire and the orange is almost the double resistance between the red and any other wire. This is the program to be implemented.

 H bridgeClick here
