The second part of Arduino tutorial series will show how to implement digital inputs, use buttons, and analog inputs to use sensors. Click in the following button to see the first part of the tutorial and understand the introductory concepts.
 Part 1Click here
Digital inputs
To understand how to use digital inputs in the Arduino let’s make a project. The materials needed are:
- 3 resistors of 220, 330, 470 or 560 Ω;
- 1 led;
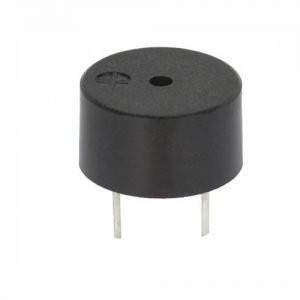
- 1 buzzer;
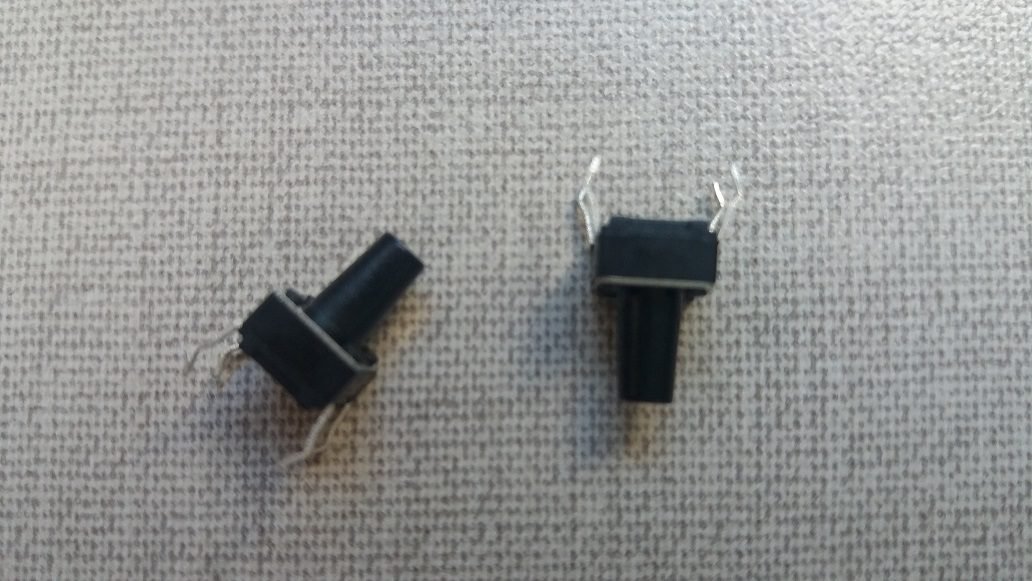
- 2 buttons;
- Wires;
- And of course, an Arduino board and a protoboard;
The circuit must stay like this.
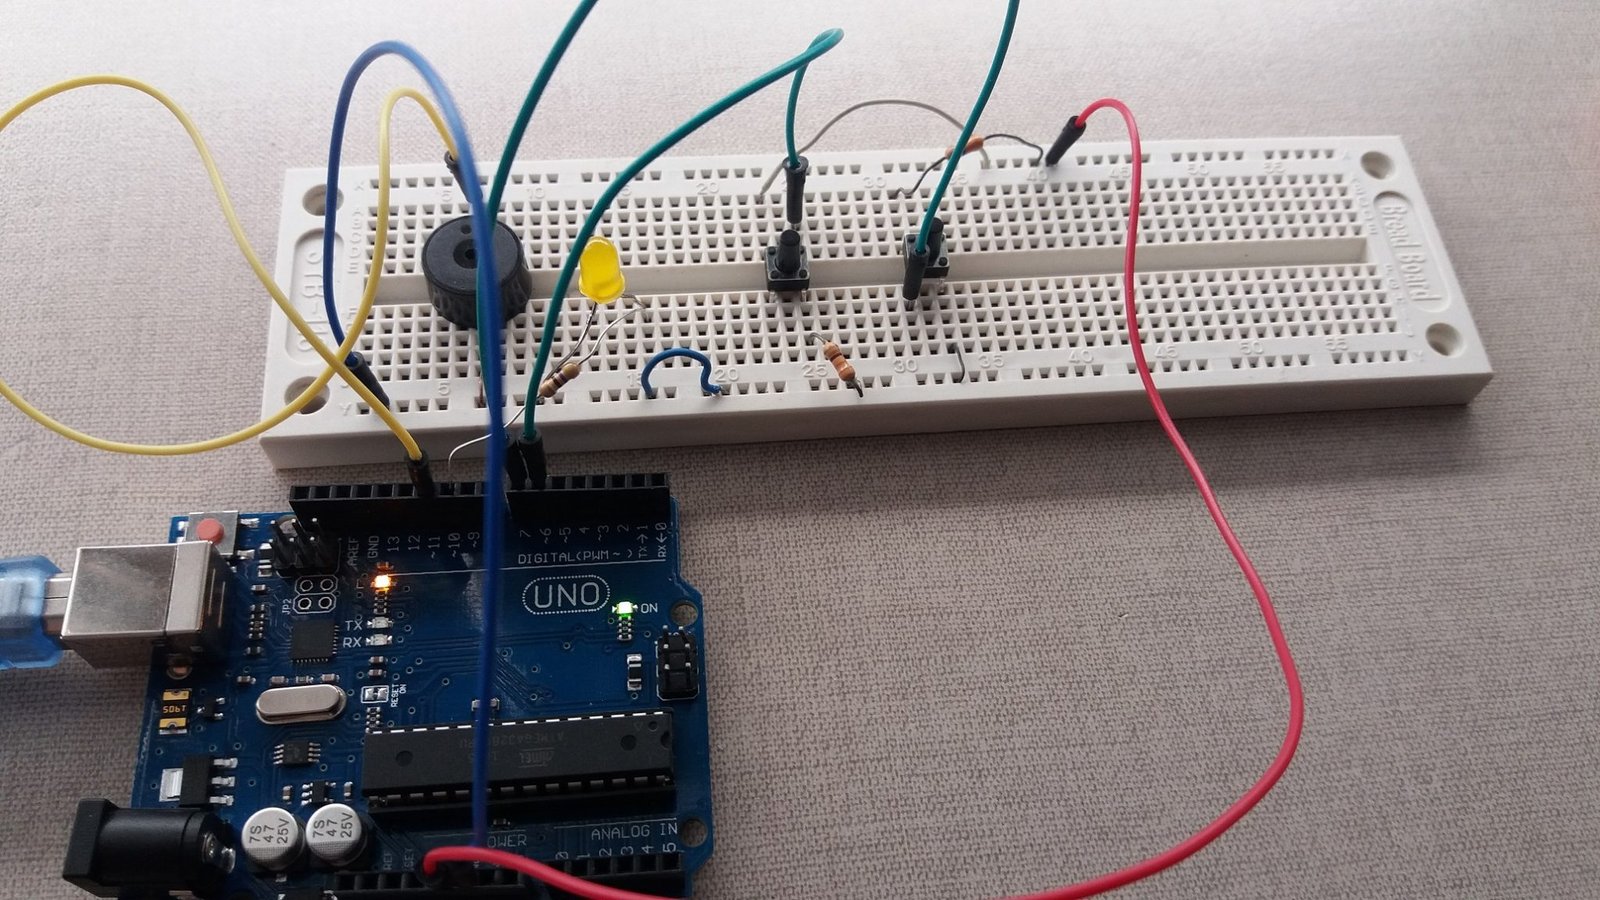
Here is the schematics, the buttons can assembled in two ways showed below, the resistors in the buttons serve to make sure that there is no floating value when they aren’t pressed.
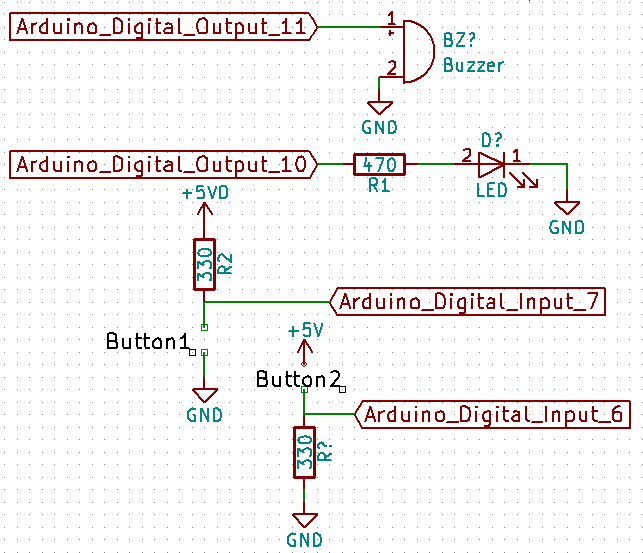
The algorithm.

When press a button, the buzzer must turn on and if you press the another button, the led must stay on.
Understanding the program
Lets analyze the new used command.
const int botao1=7;
int botao1estado=0;
Digital and analog inputs must be declared in the way showed above, const int determine which pin must be linked and int is the variable to read the button’s state, always have to put 0.
pinMode(botao1,INPUT);
INPUT means that the pin is the input.
botao1estado=digitalRead(botao1);
The command line above will make that the digital pin will be read.
Analog inputs
Lets use analog inputs, for that we will use resistive sensors like LDR, NTC or PTC, to know about these sensors click in the following buttons.
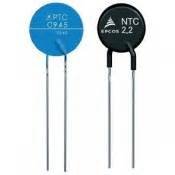 NTC and PTCClick here
 LDRClick here
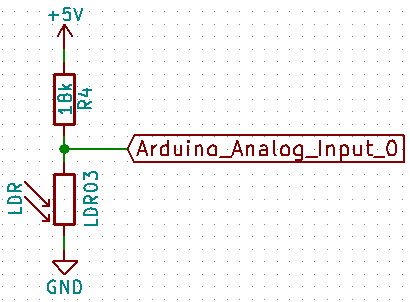
To demonstration, let’s use the LDR. You can use also a NTC or PTC. The circuit must stay like this, the analog pins stays in the opposite side of the digital pins and on the side of power supply pins.
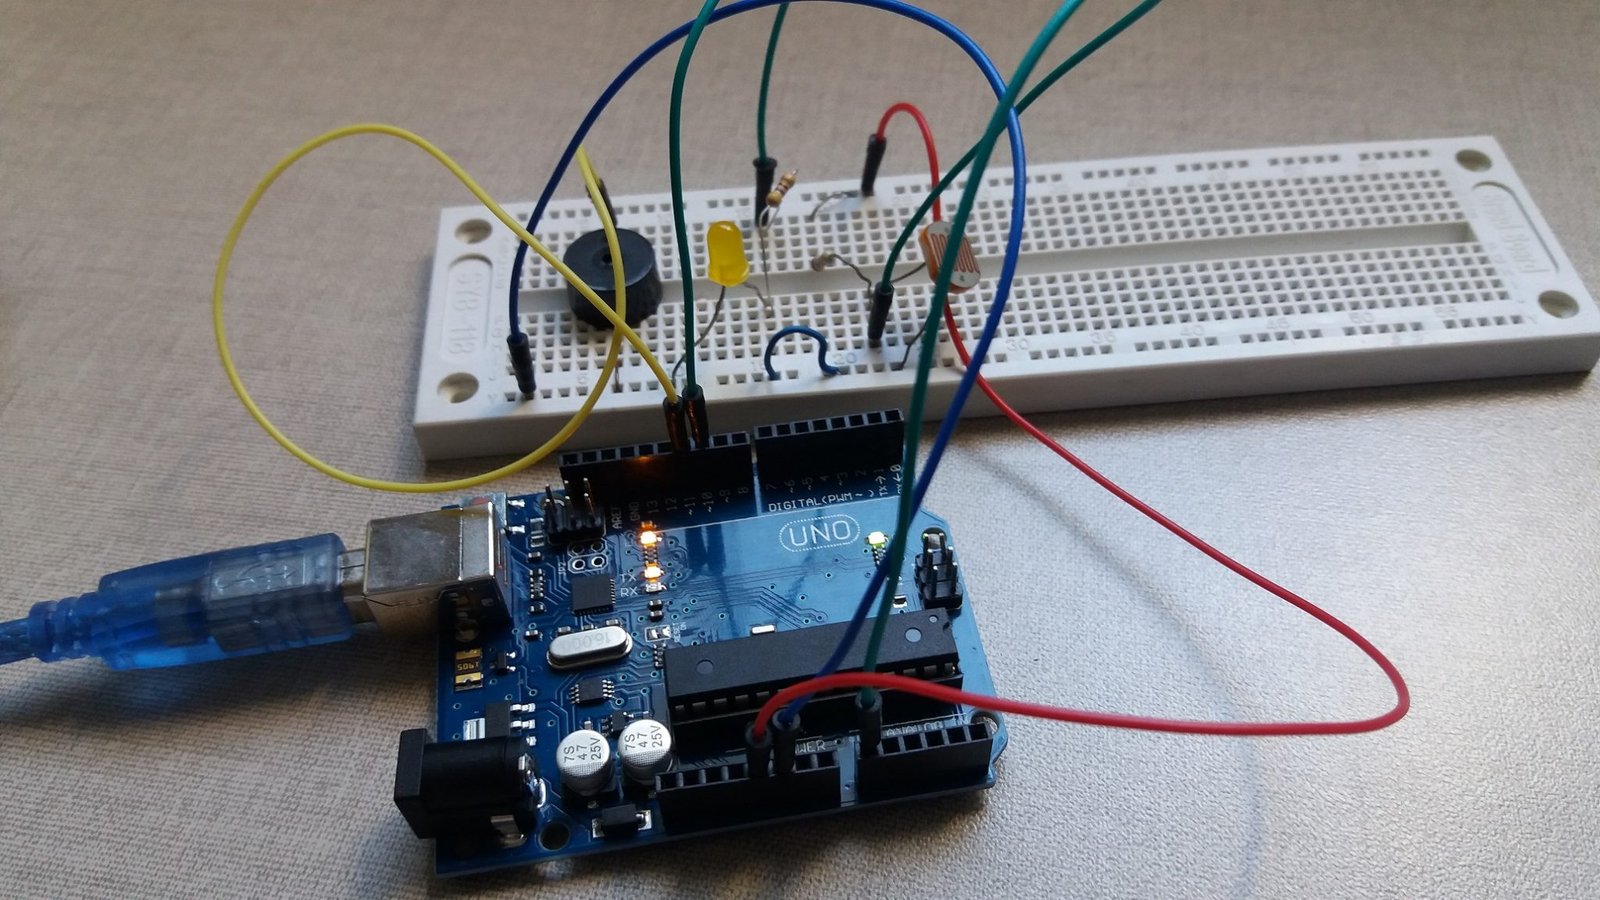
The buttons are replaced by the LDR.
The algorithm which determinate if the sensor value is greater than 200 the led is turned on and if the value is below 100, the buzzer is turned on, otherwise both are turned off.
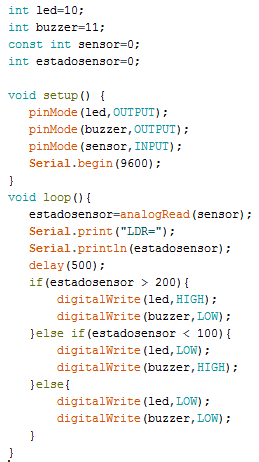
After upload the program, click in the button on the right side marked with a red circle.

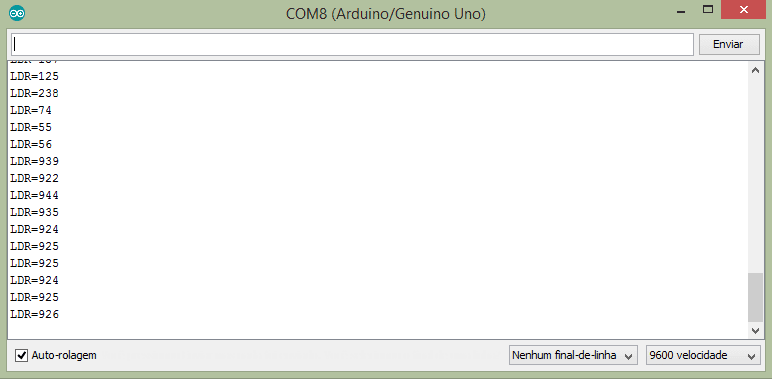
You must see this window, showing the value in analog from 0 (0 V) to 1024 (5 V).
Understanding the program
We have a new command. 9600 is the frame speed.
Serial.begin(9600);
Enable the window to measure the sensor in the Arduino. Now instead of digitalRead we have analogRead.
estadosensor=analogRead(sensor);
To see in the serial window. Serial.print to print something in the window in the case “LDR=” and Serial.println is the print the sensor’s value.
Serial.print(“LDR=”);
Serial.println(estadosensor);

