


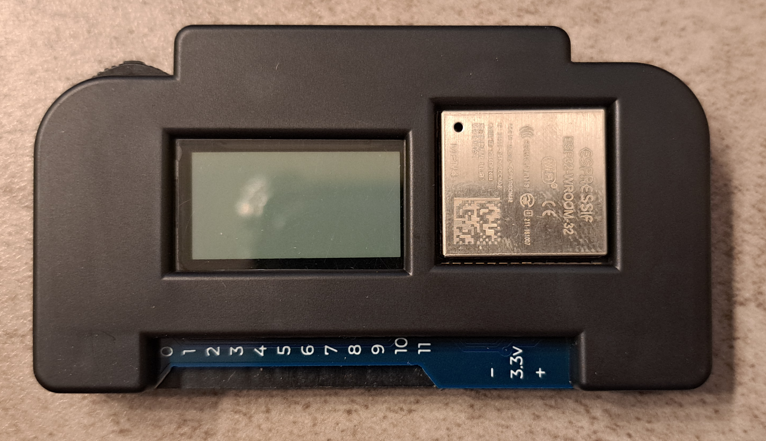
Obniz 1Y is a microcontroller made by the Japanese company Obniz, it serves as IoT (Internet of Things) platform.
To know whats IoT is, click on the following link.
Introduction to Internet of Things (IoT)Click here
Characteristics of Obniz 1Y board
It has 12 general purpose inputs and outputs (GPIO), a 128×64 LCD and a ESP32-WROOM-32 module, made by Espressif Systems, which allows communication with Wi-Fi and Bluetooth BLE4. In addition to a dial switch, which serves to choose the Wi-Fi network and write its password.
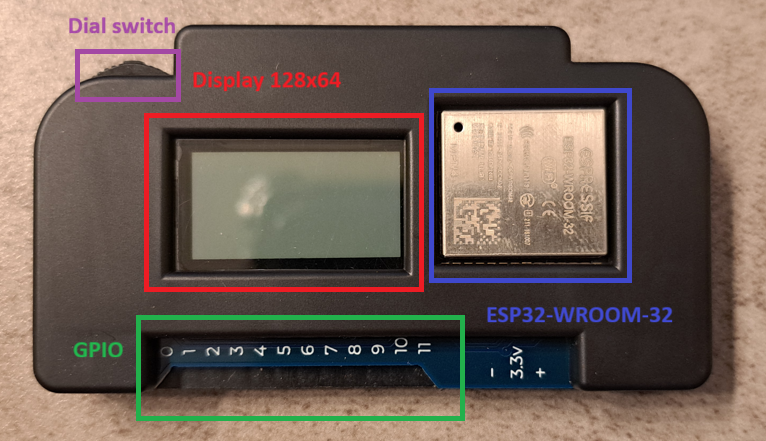
This board a low energy consumption function, called sleep function. When this function is activated, the board can stay on with batteries for a long time. Another feature is that you don’t have to download a IDE to code, like on Arduino, you must code online on the cellphone or computer, in JavaScript or language blocks.
More information about specifications can be found at this link.
First steps
Connecting the board with PC’s USB port for the first time, this is what you must see on display.
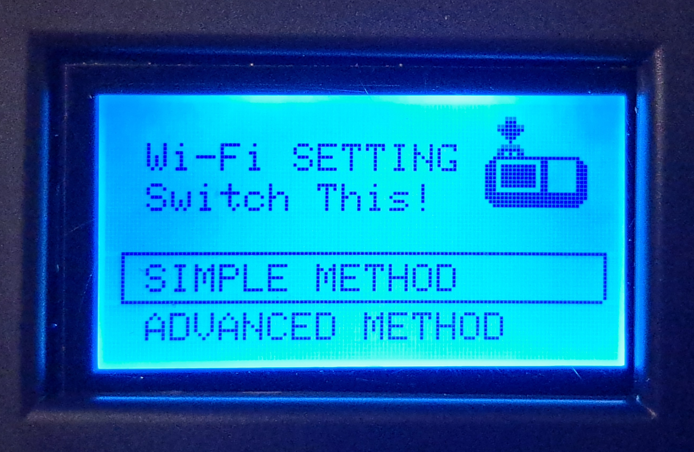
Them the message “Join Wi-Fi” will appear. Using dial switch, choose the Wi-Fi network and write its password. After the connection, a QR code will appear on LCD, read it with a cellphone and open the link. If you prefer, copy the URL link on your PC’s browser.
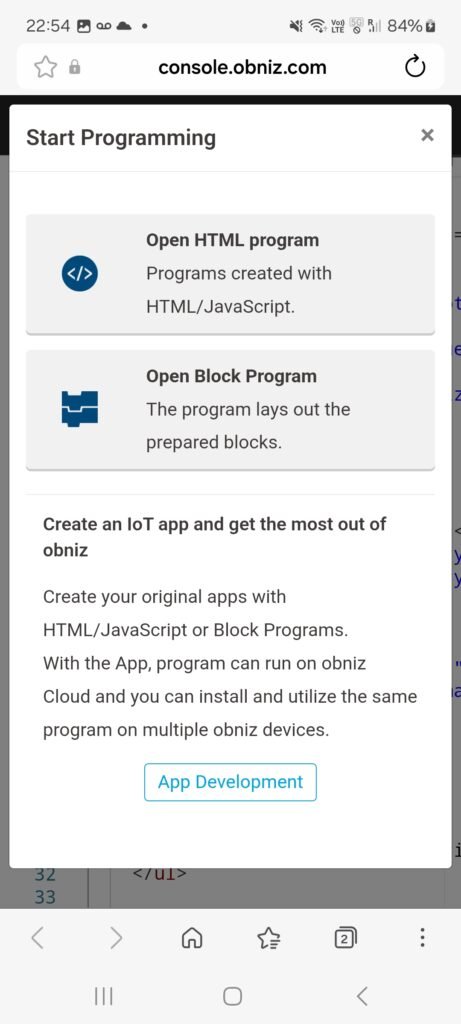
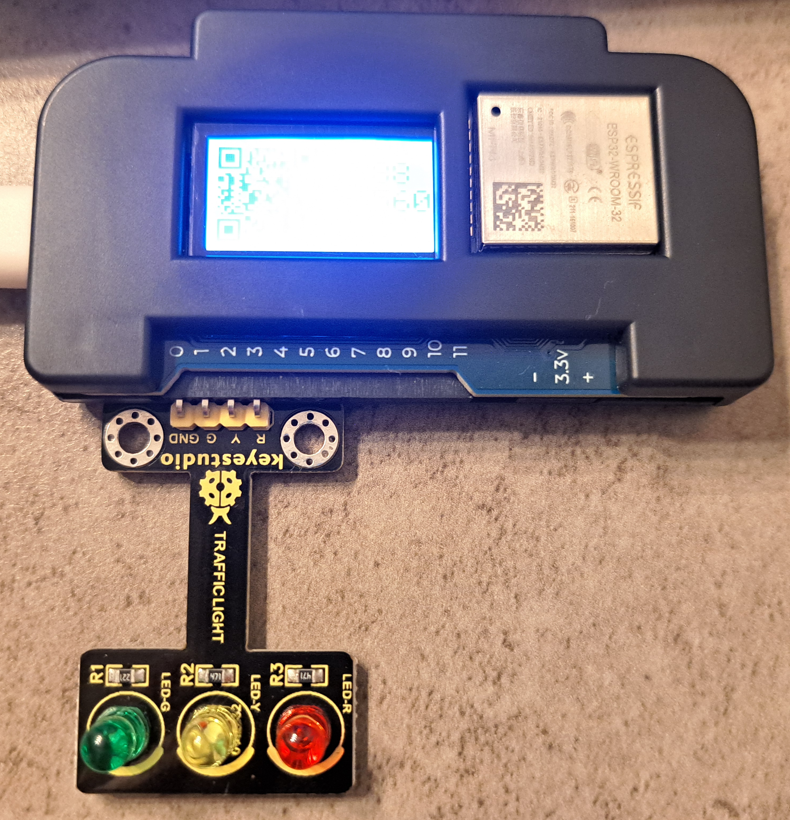
With the Obniz Starter Kit 1Y, after QR code reading, appears a complete code for each one of the options above.
Example codes and programming interfaces
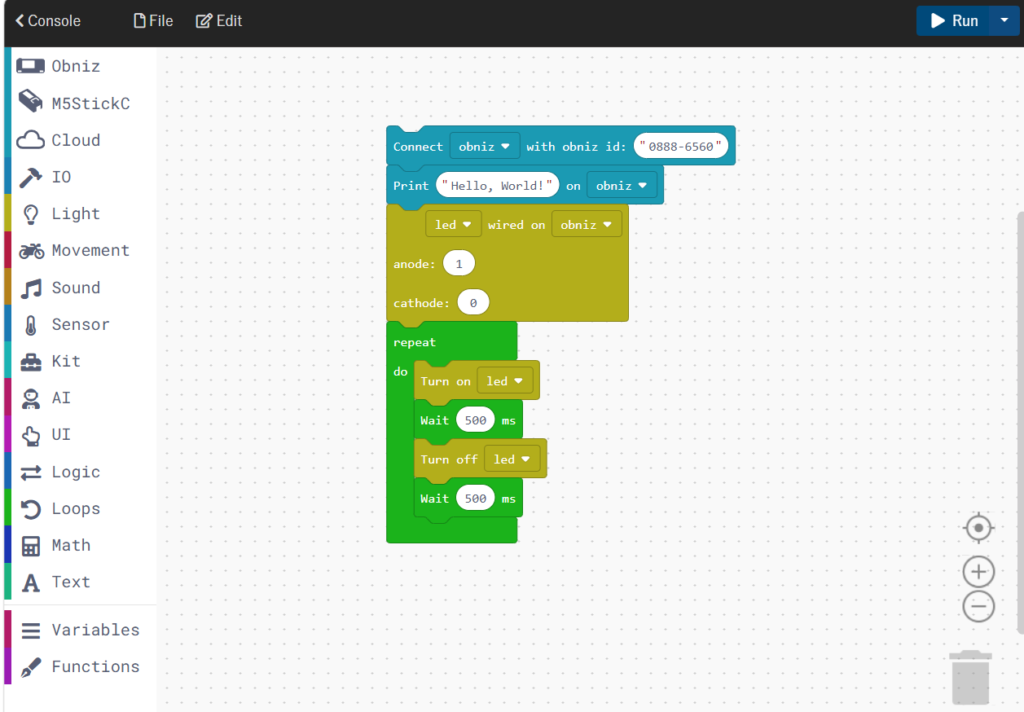
Below is a program in blocks, it prints “Hello World!” and makes a LED blink if its anode and cathode are at terminals 1 and 0, respectively.
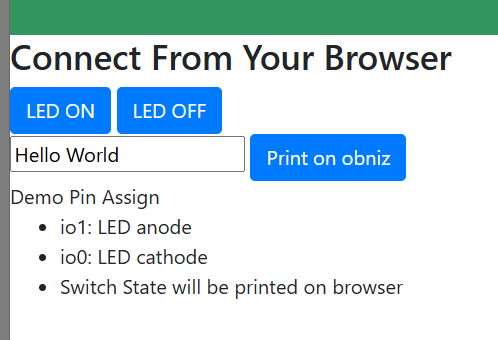
If you choose the option “Open HTML program”, a code in JavaScript on HTML interface will appear.
<html>
  <head>
    <meta charset="utf-8" />
    <meta name="viewport" content="width=device-width, initial-scale=1" />
    <link
      rel="stylesheet"
      href="https://stackpath.bootstrapcdn.com/bootstrap/4.3.1/css/bootstrap.min.css"
    />
    <script src="https://code.jquery.com/jquery-3.2.1.min.js"></script>
    <script
      src="https://unpkg.com/obniz@4.1.0/obniz.js"
      crossorigin="anonymous"
    ></script>
  </head>
  <body>
    <div id="obniz-debug"></div>
    <h3>Connect From Your Browser</h3>
    <button class="btn btn-primary" id="on">LED ON</button>
    <button class="btn btn-primary" id="off">LED OFF</button>
    <div id="print"></div>
    <div>
      <input type="text" id="text" value="Hello World" />
      <button class="btn btn-primary" id="showtime">Print on obniz</button>
    </div>
    <div>Demo Pin Assign</div>
    <ul>
      <li>io1: LED anode</li>
      <li>io0: LED cathode</li>
      <li>Switch State will be printed on browser</li>
    </ul>
    <script>
      var obniz = new Obniz("0888-6560");
      obniz.onconnect = async function() {
        var led = obniz.wired("LED", { anode: 1, cathode: 0 });
        obniz.display.clear();
        obniz.display.print("Hello World");
        obniz.switch.onchange = function(state) {
          $("#print").text(state);
          obniz.display.clear();
          obniz.display.print(state);
        };
        $("#showtime").on("click", function() {
          obniz.display.clear();
          obniz.display.print($("#text").val());
        });
        $("#on").click(function() {
          led.on();
          obniz.display.clear();
          obniz.display.print("ON");
        });
        $("#off").click(function() {
          led.off();
          obniz.display.clear();
          obniz.display.print("OFF");
        });
      };
    </script>
  </body>
</html>
When you run the code above, this screen appears. The code also print “Hello World” and shows two buttons to turn a LED on or off.
Adding your board on Obniz online app
When clicking on the link obniz – developer’s console, after the window below appears, click in “App Development”.
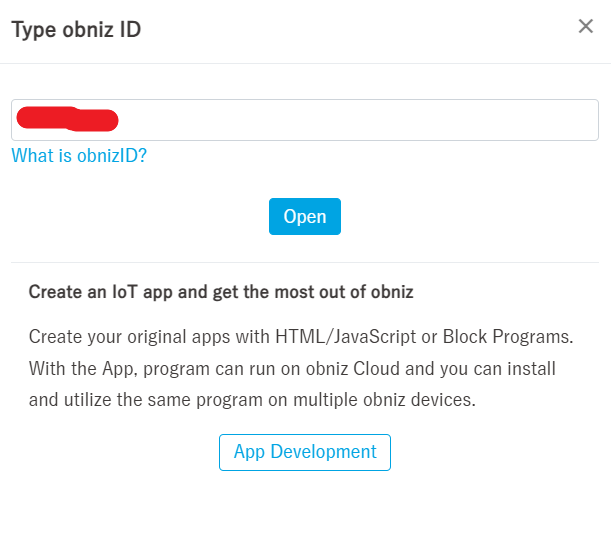
On the left, click on Devices.
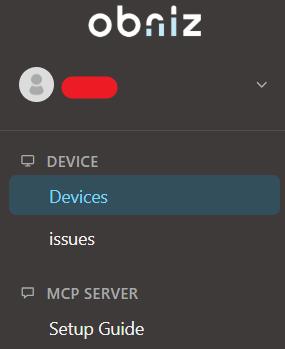
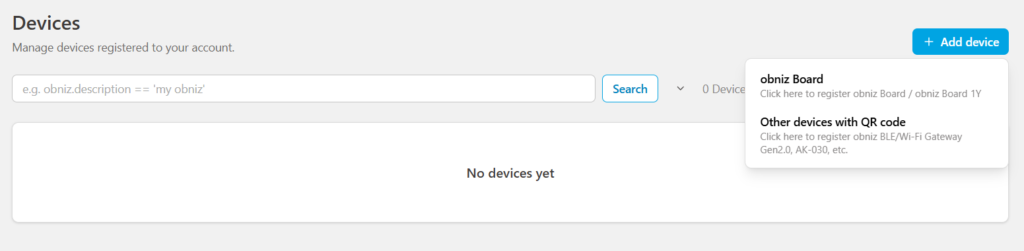
After adding the board, when clicking on devices on the left side, must appear the added board, clicking on OBNIZ ID, must appear the information and settings about the device.
I am also learning how to use this microcontroller. I will publish more posts about this board on Project area.
 platform.)